Adding Lighting Accents to Your Photos
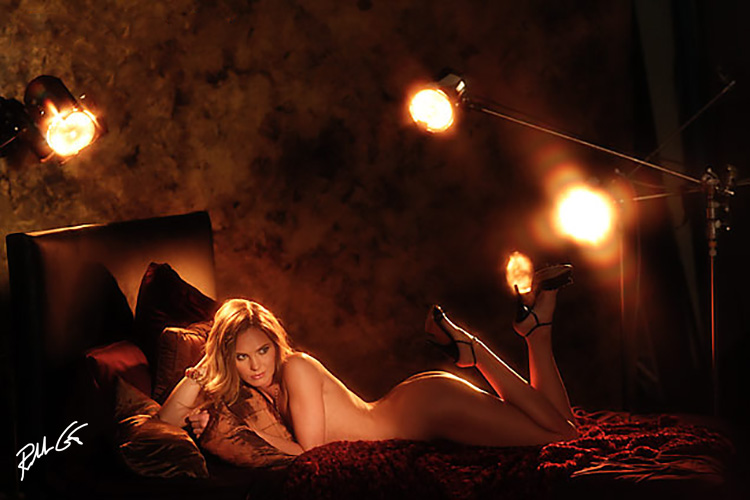
Rim lighting of your subject is easily accomplished in various ways, with either SUNBOUNCE photography reflectors or light modifiers like strip boxes or 7-inch metal reflectors for your studio strobes. With metal reflectors, start with either a 10- or 20-degree grid first to prevent spill light onto your subject. With SUNBOUNCE photography reflectors, work with a silver fabric on a 14-inch SUN-STRIP to introduce a swath of light onto your subject from the back or side.

This behind the scenes photo of Eleya I took during a private instruction which demonstrates multiple accent and rim lights.
When it comes to SUN-STRIPS, you can change the fabric to introduce different color temperatures onto your subject, such as that found with the ZEBRA fabric. If you want even more light, then go with a SUNBOUNCE MINI with the SPARKLING SUN or 3D RAINDROPS SILVER fabrics. Again, target the light for your subject’s back or sides to prevent spill light.
If you use metal grids inside metal reflectors, start with a 10-degree grid, then point the light onto the subject’s area you want to outline with a highlighted edge. If you want to see more of the body outlined, switch to a 20- or 30-degree grid. Normally, to give the light some color, use a 1/8 or 3/4 CTO gel over the reflector but allow some looseness around the gel so it can breathe and release some of the heat from the modeling lamp. Another popular gel when working with female models is a “straw colored” gel.

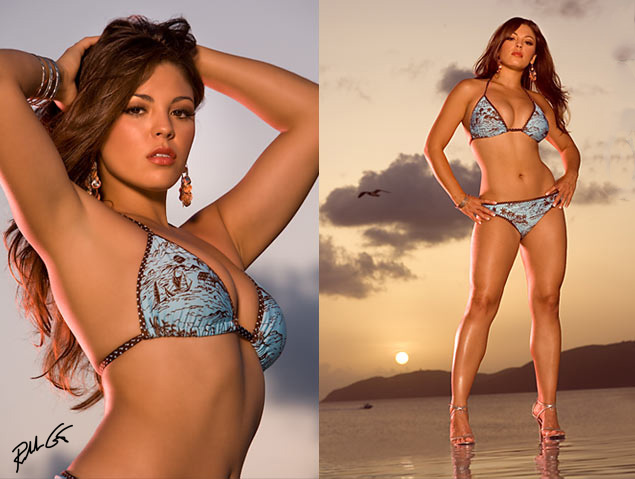
Ashly was accented by the sun and a monolight with a 7-inch reflector and 20-degree grid during one of my photography workshops.
Sometimes it’s a good idea to power the modeling lamp down from full output to proportional output so the light will not get too hot. While you’ll often hear that your rim or hair light should be a stop or two brighter than your main light, other photographers will advocate the opposite. The reason why measuring rim lighting often sounds confusing is the physics rule, “the angle of incidence is equal to the angle of reflection.”
Basically, the light intensity captured by the camera is based on the actual angle of incidence in relation to where the camera is positioned, so it can fluctuate. Your best bet when you accent or rim light, especially in digital photography, is to set it up your light, then aim it to strike your subject where you want it, test it, and adjust it to your personal tastes. Just be sure not to blow out this highlighted area you’ve introduced into the image.
When using rim light as a hair light, keep in mind that darker hair will absorb more light and lighter hair will reflect more light. Again, the final results vary depending on the angle of incidence in relation to your camera lens angle. Normally, placing the light high and pointed down onto your subject from the back is best.
The idea behind hair, accent and rim lighting is to accent various parts of the body. This is why these lights are sometimes referred to as accent lights. Remember though, that lights used to draw attention to things like keys, a purse, props in a scene, etc., are also accent lights.

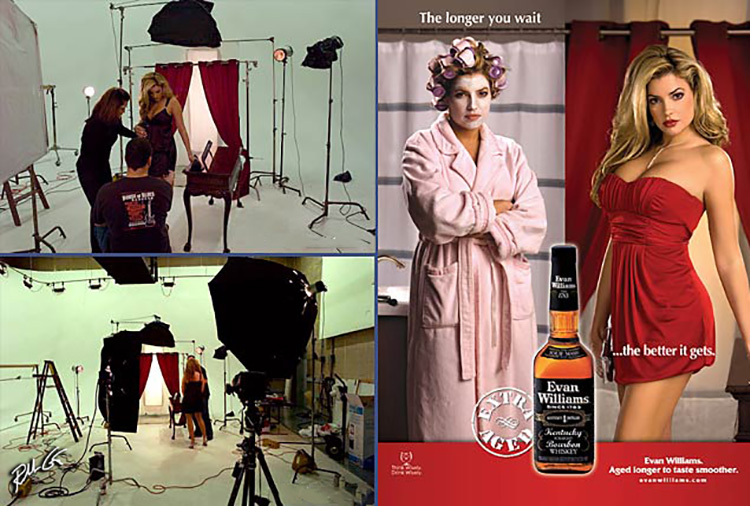
This Evan Williams Liquor ad demonstrates how rim and accent lighting was used to accent Playboy Playmate Monica Leigh, her purse and keys.
When photographing a model outdoors, you can achieve rim lighting be placing her with her back toward the sun and her front toward the camera. This works best with early-morning or late-evening light, as the qualities of light during that time of day are much softer and, as such, the photographer doesn’t need a super powerful studio power pack to overpower the sun with flash or fill the subject with sufficient light to properly expose the image. SUNBOUNCE photography reflectors like the MINI or PRO work best here or the SUN-STRIP.
When you’re in the studio, turn on one light at a time and see how it impacts your image. Use those modeling lights. As my late friend and portrait master, photographer Monte Zucker often said, the best images are the ones lit from the back and sides rather than primarily from the front. Zucker was a master of light and understood how light interacts with the subject.
I know other top photographers that think “available light” is to use every light available. While I prefer more simple lighting techniques, there are times where I have no choice, like in the Evan Williams advertisement photo where we eventually used nine lights to light the scene based on what the art director and client wanted. But when it’s must something I’m photographing for myself, I prefer to keep it simple.
On final tip on adding rim or accent lights, first light your background, then determine what type of lighting you want for your subject, then add your accent or rim lights.


