

This photo of Jenni captured during a private instruction session.
Framing and Background Separation Come Natural
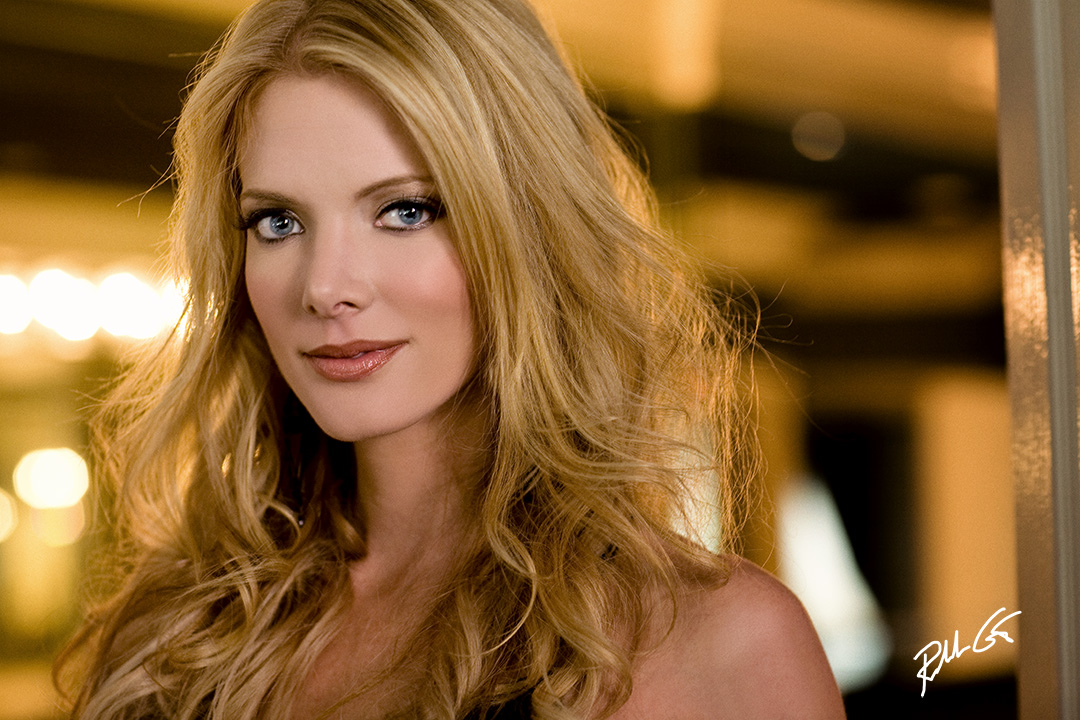
When you place a model in something as simple as a doorway, you help separate your model from the background. Here, our agency model Jenni, stands in the doorway of a bathroom. Since the bathroom had intense household lighting for the mirror behind her, I chose to “drag” my shutter to capture the ambience of this light. With the white balance set for the flash, the lighting from behind registers in all its tungsten warmth. Notice the model’s face is also toward the upper third, camera left, following the rule of thirds compositional guideline.
I captured these images while conducting a private instruction for a photographer client of mine.
While standing in the master bedroom, I noticed Jenni stopped for a quick make-up touch-up, and at that time I noticed the light that entered from the doorway produced by all the lamps surrounding the spacious mirrors that accent the master bathroom. As I thought about how the doorway could frame the subject, it hit me, why not use my Canon 85mm F/1.2 lens to capture this incandescent light screaming a warm atmosphere and mix it with artificial light from my portable studio flash.
The key to this image is to have just a punch of artificial light behind her that will not spill onto her. I also considered Jenni’s natural, strawberry blonde hair and how the warm background light would accent it from behind — similar to a hair light accent. If she’d had brunette or darker hair, I would have raised my camera ISO, then powered my light down even more, or move my light further back, so I could open the aperture up at least one more stop.
These types of shooting situations are why low-light, or fast lenses are an important part of a photographer’s toolbox. The camera exposure from the front is based on the artificial light while her camera exposure from the rear is based on the ambient, or incandescent light sources.
Some things to consider in the first photograph, it started as three-quarter length shot that would eventually evolve into a more headshot crop. Though I never started this image out as a headshot, if I had, I would have not mentioned the crop to the model, as models, even experienced models, tend to freeze when they know you’re after a headshot.
Work your way to a great headshot by not starting to try and capture one.
It’s always best to shoot until “that” image develops before your lens. Never force a headshot as the face will be too tight for a successful headshot. When it comes to headshots, it’s always about the corners of the eyes in harmony with the corners of the lips. Through proper communication and the building of rapport with your model, she’ll become comfortable during a photo shoot and you’ll capture that perfect, photographic smile, headshot or three-quarter shot.


Trackbacks/Pingbacks