There are many ways to improve your photography, but if you want to turn pro, as a minimum you should start with the 10 steps to become a professional photographer listed below. Why not become a pro if you’re not already? If you have a smartphone, you’re already a photographer, but not necessarily a professional photographer.
Professional Photographer Defined
The first step to become a professional photographer is to define what you think a professional photographer actually is, as in most places on this planet anyone with a camera can call themselves a “professional,” even if their camera is just a point-and-shoot. Equipment itself doesn’t make a professional, professional any more than getting paid for a photo.

The 10 steps to become a professional photographer start with you and end with get out there and shoot, practice your craft to stay proficient.
Contrary to the misconception that a professional is someone who gets paid for their photography, a professional photographer is someone that actually understands what makes, and how to take, a great photograph.
As outlined in my recent article, Define a Professional Photographer, it isn’t just about the money, and yes most pros do make money, but the most successful professional photographers create masterpieces first, then the money flows. The one thing all masterpiece photographs showcase is the identity of the photographer through their photographic style which is clearly explained in the latter link.
Find Your Genre
The second step in climbing the 10 steps to become a professional photographer is do your research and decide what equipment you’ll need for the specific genre of photography you intend to master. While most genres of photography are easily covered with one camera body, lens selection along with lighting gear plus any specialized gear will vary from genre to genre of photography — for example, a forensic photographer’s gear will vary greatly from that of a fashion photographer. So, find your genre and figure out what gear you’ll need first.
Learn Your Gear — Comprehension
Second, learn your gear. Understand the correlation and differences when it comes to shutter speeds and apertures. Understand what they do separately and for each other. Do you need more bokeh or less bokeh in your photography? Do you need to stop action or blur action in your photos? Is depth of field important, equally important, or less important in your final photograph?

With roots in photojournalism, I naturally try to tell a story with my photos.
To become a great photographer, you must comprehend your gear and that includes knowing what your gear can do for you and getting comfortable with your gear so you learn what to expect from it — and the first minute it doesn’t give you what you’re used to it providing, ask yourself why and troubleshoot.
Comprehension, along with creativity and communication are three things thoroughly covered in my article, Great Photographers Know What it Takes, which I highly recommend you bookmark and read thoroughly in an uninterrupted environment. I also like to call comprehension, creativity, and communication the three “C’s” that make a great photographer.
Master Communication
Since we covered comprehension and for the sake of time I’ll let you read more about creativity in the latter link, let’s briefly look at communication, as the root of all problems tend to lead back to communication or miscommunication. In order to better understand communication, a photographer should take from what is known as the “mother of all models,” the Claude Shannon and Warren Weaver’s 1949 Communication Model.
This communication model is composed of the following elements: a sender or the information source, a message, a transmission, a channel, a receiver, and a destination. In this mix you also have the concept of noise, or interference.
Photographers are the senders and their voice is the transmitter outlet while the channel is the actual photography session in itself. A great photographer will avoid the introduction of noise or distractions such as the phone or other interruptions during their photo shoot, and they will also ensure their equipment is checked plus ready to go before a shoot even starts. The subject is the receiver and the destination is the final photographs.
Communication isn’t just about communication with your subject, but what you’re trying to communicate to your audience when it comes to your photography. Like creativity, there is a lot more explained on communication with the latter article link including building rapport and its importance with your subject.
Stop Using AWB
Once you know the difference between an F/stop and a bus stop, then head over to the Kelvin scale, and no we don’t expect you to learn it, but learn the main three; 3200K to 3700K, 5000K to 5800K and 6000K to 7500K. The first value of numbers represent the tungsten side of the scale, the second set represents the neutral color of light, or what some call “noon to 3 o’clock daylight”, and finally the third set of numbers represent the cool or shade side of the scale of.
A lot of professionals got left behind when we transitioned to digital from film from failure to understand the importance of the Kelvin scale and how it works with camera white. Still photographers with a video background had no problem, but those that didn’t understand white balance would blow a Golden Hour shoot because their camera was set on “AWB,” or auto-white-balance mode — a big no, no if you want to truly call yourself a professional photographer.
I once had a client hire me for private instruction and she couldn’t understand why her photos in the studio were looking cool, or blueish. She had gone as far to create an “action” in Adobe Photoshop to clean up all her images. I simply took her camera, put it on manual white balance and set the Kelvin to 5400K, then handed it back to her. I explained to her that no camera on Earth today set on AWB can measure the light temperature of flash as it’s taking the photo and automatically make corrections. Her camera would white balance to the tungsten modeling lamps of her studio strobes, which are warm in Kelvin, and the opposite of warm is blue.

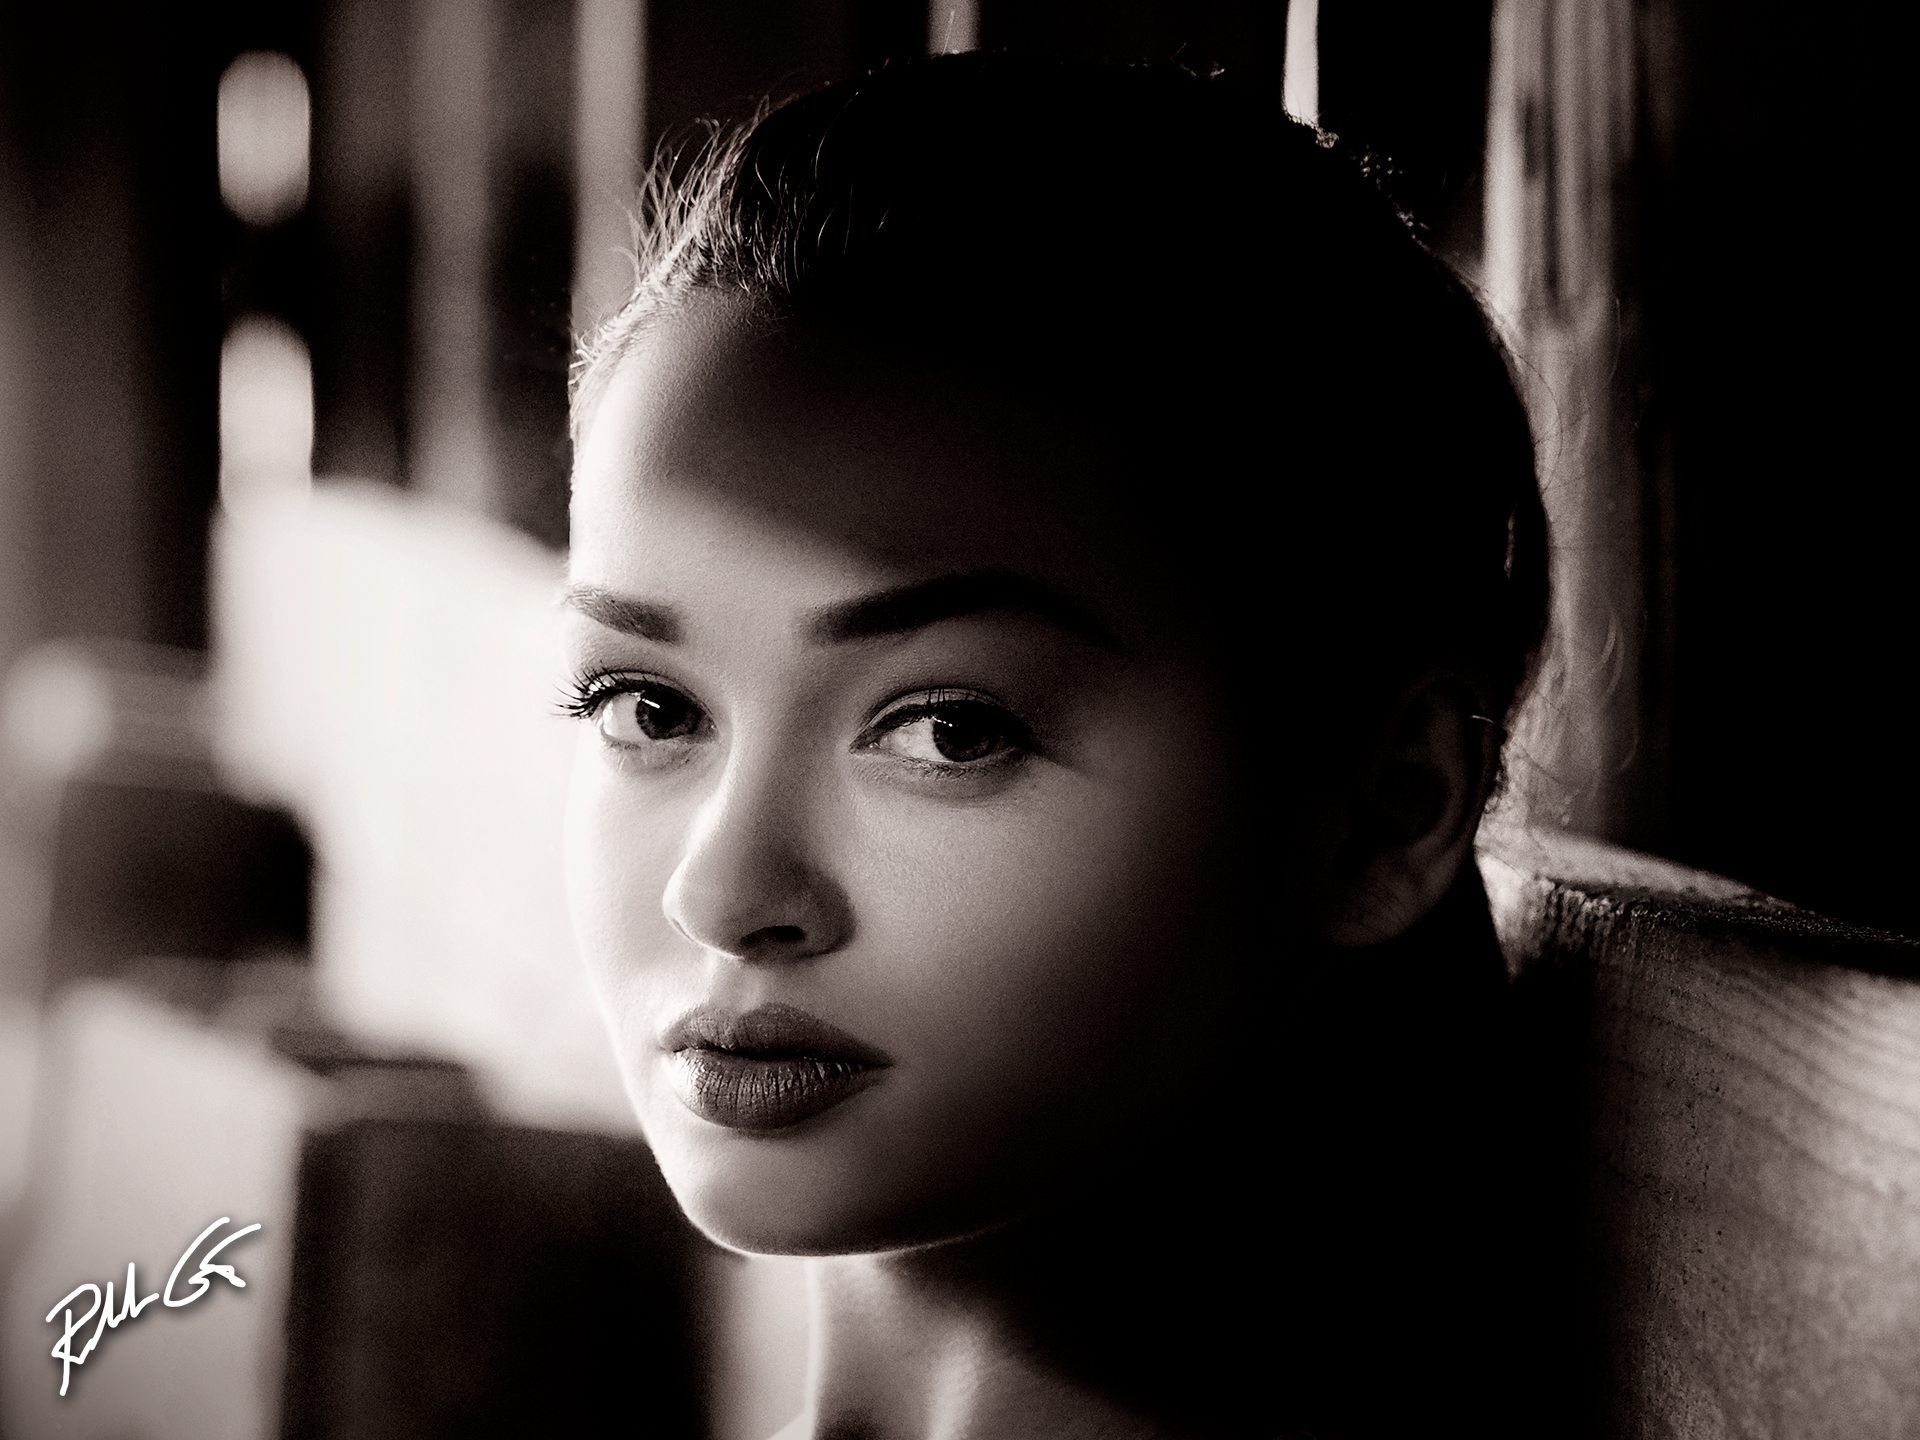
When it comes to lighting in photography, learn to master one light first.
Master Lighting
The key to any photograph is light, regardless if taken by an amateur or a professional photographer. The difference between a professional and an amateur is that the professional understands the quality and characteristics of light, including the previously discussed Kelvin scale. A professional also understands how certain elements, whether it’s open shade, photography reflectors or studio light modifiers, can affect the quality of light that will determine the final effect in their photography.
You must to See and Feel the Light in Photography as light is the lifeblood of the image. It’s extremely important that you learn to master light. Light is all around us and it not only illuminates our world, but, allows us to accomplish everyday tasks by eliminating darkness. Just like the air we breathe, we often take light for granted as it’s part of our big picture of life, but as photographers, we need to understand the importance of light. Specifically, learn to “see” it as well as how to “feel” light as it varies from point to point.
Build Your Portfolio
As you progress up the 10 steps to become a professional photographer, build your portfolio, or body of work that you will showcase to your potential clients and subjects. Your portfolio should include your best work and if printed, don’t exceed 20 photos. If it’s digital as in your iPad or online website, break your portfolio up into specific genres and again, limit each category to no more than 30 to 40 images.
The golden rule when it comes to portfolios, “Your portfolio is only as strong as your weakest image.” As you continue to build, update, and improve on your portfolio and at some point, as you do this, you should see how your photographic style will start to develop. Establishing a photographic style is one of the steps of becoming a professional photographer.
Build Your Brand and Your Platform
Photographic style develops throughout a photographer’s career and it truly defines professional photographers. It’s a professional photographer’s identity and brand. Photographic style is about consistency in your craft. This doesn’t mean one can’t change your style temporarily to please a client or for self-promotion, it just means a professional can deliver their type of photography style in every photo they take at any location.
Your photographic style will establish your brand in photography, but your platform will give it a true identity in the marketplace. Part of building that platform is building a marketing email list, maintaining an online portfolio on your own domain/website not just on over-saturated portfolio communities, plus build your social media networks on Instagram and Facebook as a minimum, though don’t rule out the others.
Stay Proficient Through Continuing Education
I’m a firm believer that technology changes every Monday when the Board of Directors meet — which means you’ve got to stay on top of things in photography, regardless of your genre, if you don’t want to get left behind. In summary, no photographer knows it all as we’re all students of photography so it’s important to keep your knowledge going when it comes to the 10 steps to become a professional photographer and maintain that status.
Get Out There and Shoot
While many photographers are self-taught, many are also formerly trained. There is nothing wrong with attending a photography workshop, seminar, lecture, tradeshow, expo, etc., as the possibilities in photography are infinite. As you gain that knowledge, get out there and shoot so you can practice and retain what you’ve learned. Releasing the camera shutter is only 5-percent of the equation when it comes to the 10 steps to become a professional photographer.


