
Throughout life we see natural silhouettes in many forms, whether it’s driving down the highway with the sun in our eyes as we pull the sun visor down to help us see the road, or the sun setting over the ocean as a young couple walks by holding hands. Ultimately, we see a stunning image created by a mismatched lighting ratio.

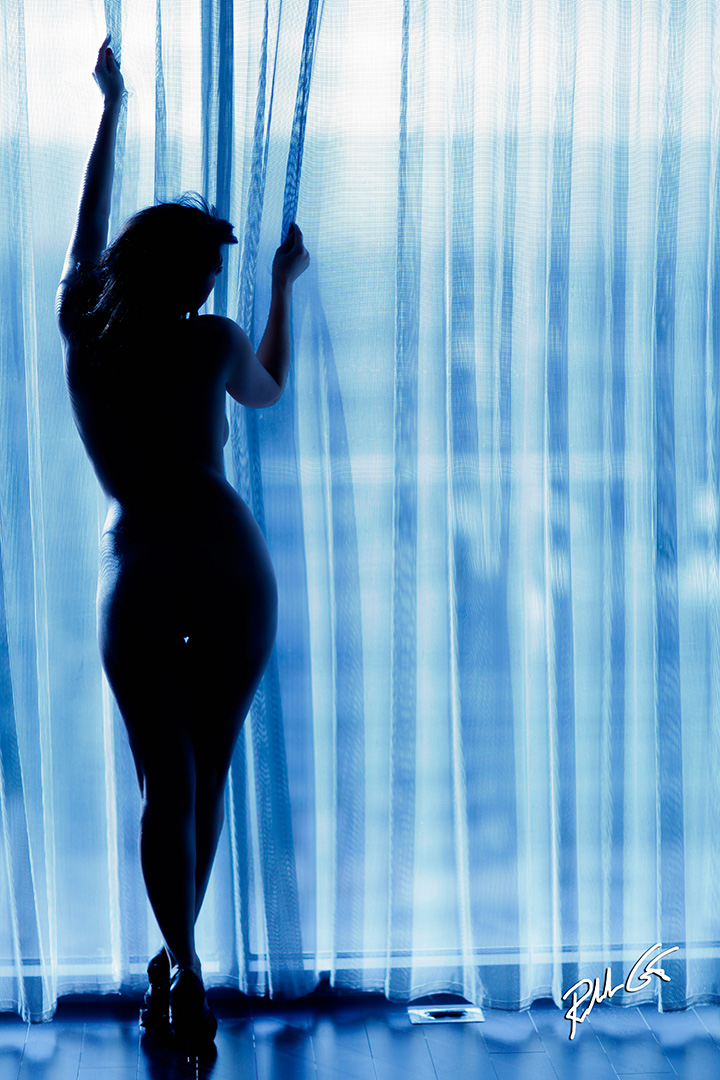
In this photo, the silhouette areas add a dark mood that matches the photo’s theme.
Sometimes the images are colorfully lit in the background, or just black and white, as the subject is normally black in silhouette photography so either way works. Usually these spontaneous silhouettes are high in contrast and our cameras aren’t nearby, so we keep doing what we were doing and move on, mesmerized by the moment that just visually stimulated our senses.

Bright areas, especially in sunsets, help you capture a silhouette photo.
As photographers, we know the best images are the ones that stimulate our minds and silhouettes can certainly create those feelings, but more than not, when it comes time to create one with our photographic tools and skills, we often wonder how to create photographically what we’ve seen before. Well here are some photo tips that will help you create great silhouette photos.
First, it helps if you find a location that you can shoot into a bright background—the camera has to face into the brightness, though don’t look at the sun through your lens, that’s dangerous.
Second, understand that created silhouettes require a correct exposure to prevent lens flare and/or soft edges or spill light around the subject—it’s ultimately about proper exposure. Don’t be mistaken that a silhouette is done by overexposure, on the contrary, proper exposure of the background is key.
A simple method, meter your background, preferably with a reflective not incidental meter—in other words, point your camera lens into the brightness, but not the sun. Don’t point a white-domed incidental, hand-held meter into it. There is a difference. A camera meter measures actual reflected or emitted light off the background and subject whereas an incidental meter measures light falling on it from the reflecting source. A reflective meter will always give you a more specific measurement.
Don’t have a meter, no problem, this is where the Sunny 16 Rule comes to the rescue when you shoot into the sky. The Sunny 16 Rule merely states, on a bright sunny day, preferably midday, set your ISO and shutter speed the same and your aperture to F/16. So, on a bright sunny day I’d set my aperture at F/16, then my shutter speed identical to my ISO. If I set my ISO at 100, that means my shutter speed is set at 1/100th of a second.
Play with it, sometimes you can purposely increase your shutter speed to darken the background a bit if your subject is several stops underexposed from the background. This can create interesting backgrounds besides an over lit, plain, bright white background, which helps tell the story more through your photos.
We often pass by many potential silhouette photographic opportunities because we don’t see the silhouette physically. As long as you have a bright background, try and move your subject into a shaded or covered area, then make an attempt to create a silhouette. Look for an opening into a bright background, like a barn, garage, building, up against a window, etc., basically making sure your subject will be at least two f/stops or more under exposed from F/16.
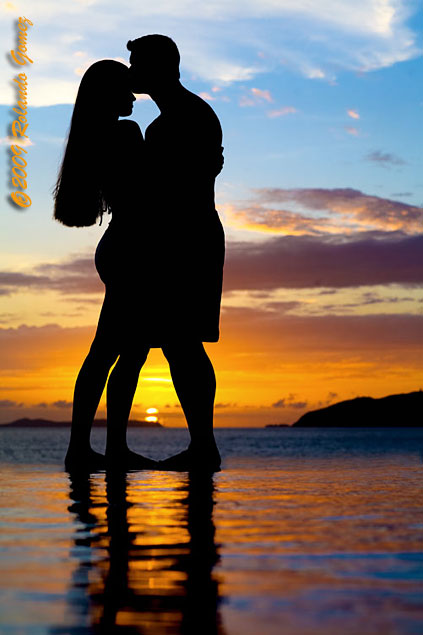
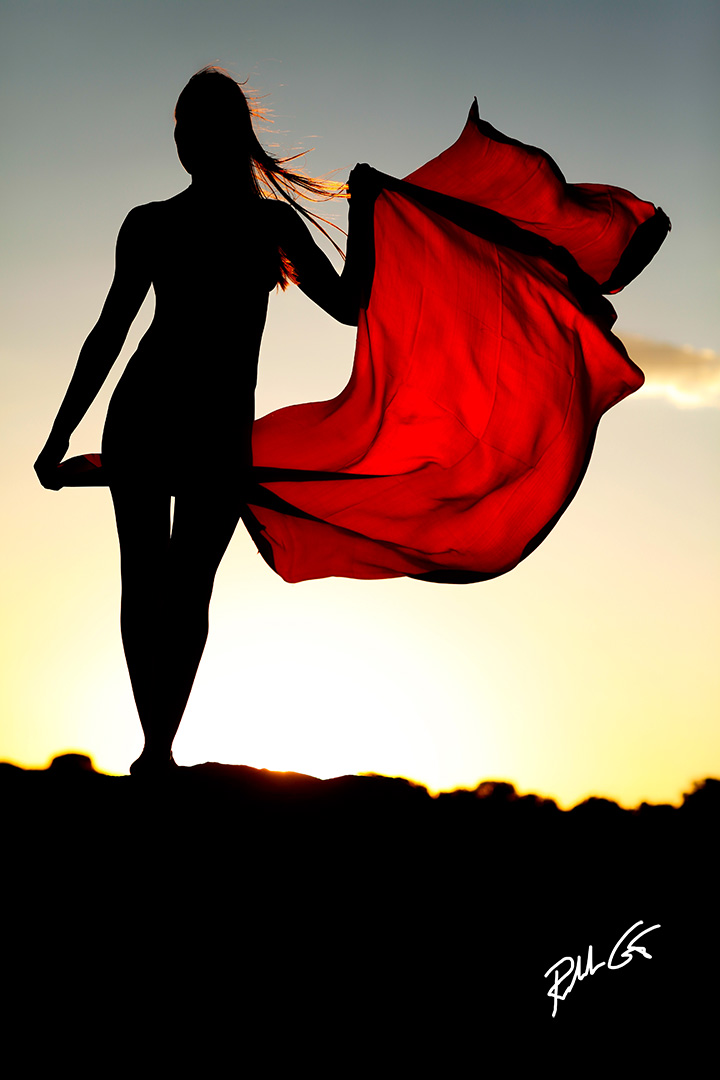
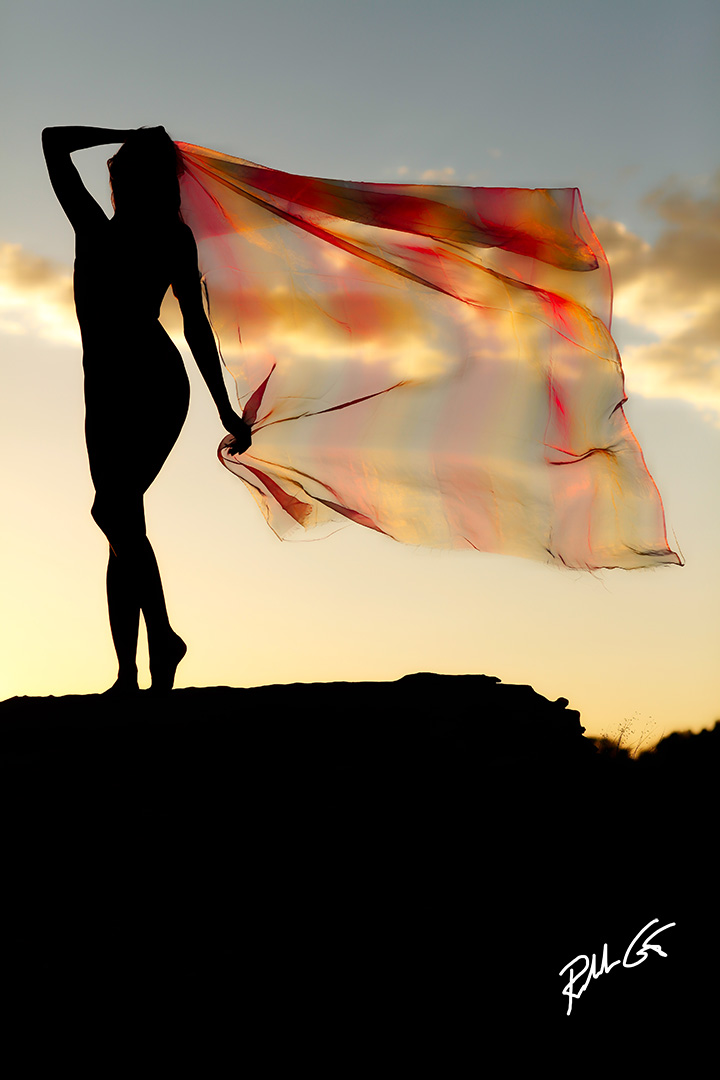
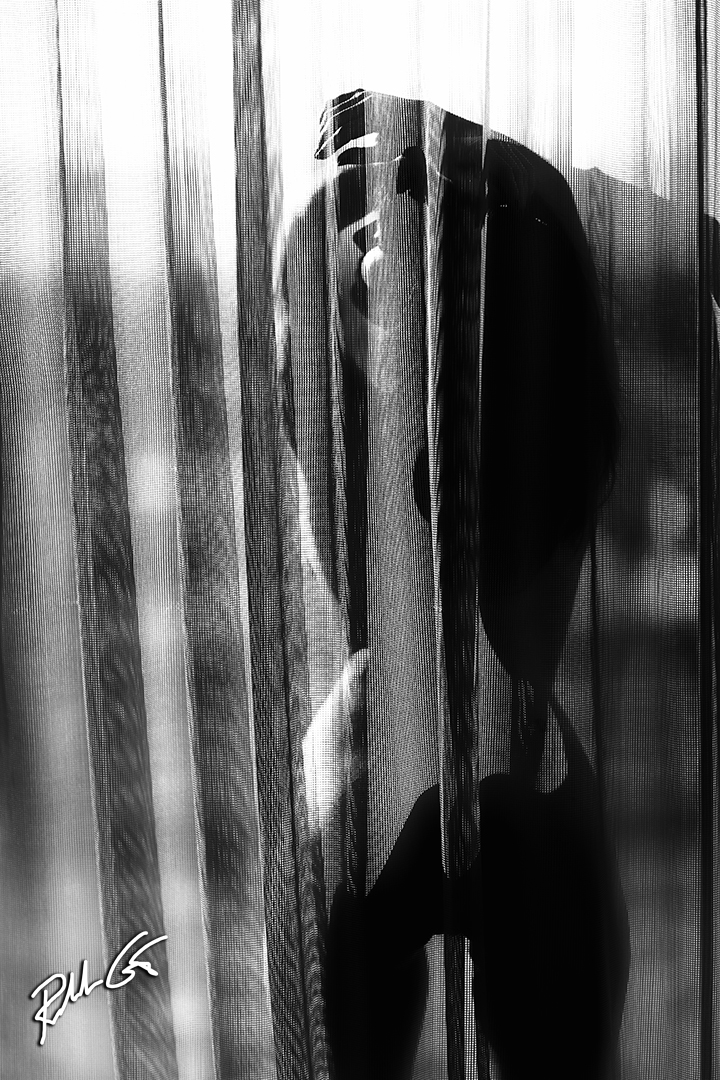


Click the silhouette photos above to view enlarged in their entirety.
It’s that simple, shoot for the background and let your subject go black. In reality, your background is properly exposed while your subject is underexposed. If your subject still shows detail, move them further into the building or overhang to reduce ambient light from affecting them.
You might take a shot of your subject standing in the doorway then have them move inside a few more feet and shoot another photo—that’s the beauty of digital photography, you can experiment and chimp the results immediately in your LCD screen.
You can also play around in 1/3-stop increments until you get it right—being that the highlights or the brightest part of the image, are white and that the shadows are black. On another note, don’t throw those images away where the flash didn’t go off, as you could have one great accidental silhouette.
Ultimately the goal for a great silhouette photo is to ensure you have a strong backlight source, the sun being the best, and no light on your subject—just avoid ambient light falling on your subject while maintaining the highest aperture and shutter speed values possible. You’ll know when you’ve captured that great silhouette photo, as it’s just like when you drive down the road as you pull down your sunglasses to protect your eyes from the sun. You’ll realize that even though the music was playing, you didn’t hear it because you were mesmerized by that moment in time.

